Zapier integrations with Google sheets and Salesforce – Web calculators case studies #5
Integrations are a very important part of modern software. Calculoid is connected to more than 1000 applications thanks to Zapier platform. Set an account on Zapier and connect your web calculators to your CRM to integrate generated Leads or to Google Sheets to store the data in a file.
Explore case studies and get inspired on how to use Zapier integration to grow your business in Calculoid in webinar recording.
Imagine you have a Lead generation calculator. You want to have all the Leads in your CRM system. Integrate your calculator with the application you use and gain customers. Integration can also help you to send data from Calculoid to Excel or Google Sheets. It is very useful if you want to manage the data your customers or employees submit.
Case study 1 – Set your first integration
To start using integrations, you need to set a Zapier account and accept the invitation: https://zapier.com/apps/calculoid/integrations.
Once you have an account you can set your first integration called ZAP! It is a simple connection between two apps made of a trigger and an action.
To do so, go to your profile page on Zapier and click on 'Make a Zap!' button.
Trigger part
- Choose Calculoid app as a trigger application
- Pick 'Calculator Webhook' in the 'Choose Trigger Event' section
- Connect your Calculoid account to Zapier copying 'APIkey Header' from 'My Profile' page to the pop-up on Zapier.
- Choose a calculator you want to connect.
- Click on 'Find Calculators' to test the connection. If you set the first step correctly you will move to the action part.
Action part
- Pick an application you want to connect with, for our case, is it Salesforce app.
- Pick an option in 'Choose Action Event'. This action will take place once the data is sent from Calculoid to your application.
- Connect your account using your login/password information. In this step, you need to use login and password for the application you connect to Calculoid.
- Match fields from your calculator to the fields in your system.
- In the next step, press the 'Send Test' button.
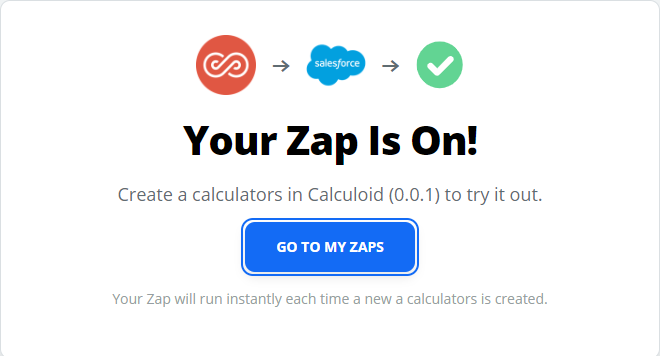
- Great job! Now your integration is ready. Turn on the Zap and start collecting the data needed.


